No, I do not think the world needs another tzatziki recipe. But it is, at least here in the Northern Hemisphere, the right time of year to eat it. My friend Wesley and her family recently returned from a trip to Crete, and her ten-year old daughter made tzatziki for us all when we went to dinner at their place in North Carolina last week. When I got home our little raised bed garden in the front yard was a gorgeous jungle, with plenty of sweet little pickling cucumbers ready to go. I remembered I’d shared my own recipe on our farm blog back in our Virginia days. I dug it up, and we made our first batch of the season tonight, and we put it on burgers and on top of roasted eggplant too, and it was so damn good. What the world needs, I thought, is more ten-year olds who know their way around a kitchen. What the world needs is a way for all of us to eat this well and to eat this happy.
Last summer I started migrating a few of my farm blog posts over here. I didn’t get very far with that project, I don’t think – but as I licked the food processor bowl clean tonight, I thought, heck, let’s try again. Let’s show up here a little bit and then figure out how to show up some more. Nothing says, “I miss you!” like garlic breath, right?
(I’m reposting this recipe almost exactly as I wrote it for our farm blog in 2011 – I’ve taken out just one or two confusing references, but am otherwise leaving the words as is. They speak to a different time in my life, and as I continue to explore what and who make a place a home, here on this site and in my life, it feels valuable to look back on where I’ve come from, even if I’m just talking about cheesecloth and lactobacilli. The nearly word-for-word repost also explains all the first person plural pronouns.)
Tzatziki is a classic Greek appetizer made from strained yogurt, cucumbers, garlic, and herbs, and similar dishes are made all over the Middle East and Mediterranean. It manages somehow to be both refreshing and substantial at the same time, which is exactly what I’m after these days. Heavy braises and long slow roasts make me sweat just thinking of them – but these hot sticky midsummer days are tiring, and a girl needs some fuel! Enter tzatziki.
Our only caveat is that you need to plan ahead here. The recipe is straightforward and easy, but you’ll need to strain your yogurt, and salt and drain your cucumbers. And ideally you stick it in the fridge for a couple hours after you mix it up, to let the flavors blend. So it’s not something you can whip up at the last minute for a potluck or to accompany a Sunday dinner outside by the grill – although it would be right at home in either of those settings!
Tzatziki
1 quart yogurt (preferably full fat with no added stabilizers or sweeteners – just cultured milk; or, substitute 2 1/2 cups Greek yogurt and skip the yogurt straining step)
2 large cucumbers (or 3 picklers), peeled, seeded, and chopped (instructions below)
1 tablespoon salt
juice of one lemon
one clove garlic, chopped
1-2 tablespoons chopped fresh dill or mint or both
additional salt and pepper to taste
First, strain the yogurt. We use a nylon nut milk/sprouting bag like this, but you could also use coffee filters or cheesecloth.1 If using a nut milk bag, hang it into a large jar (a half gallon or one gallon jar works well) and secure with a rubber band. If using coffee filters, line a colander or large strainer with two coffee filters and set the colander/strainer inside a large bowl. Cheesecloth can be used either way. Carefully pour the yogurt in. Whichever method you use, you want to leave room for the whey to drain out of the yogurt, so be sure the bottom of your bag or filter isn’t touching the liquid as it drains out. Some whey will drain out immediately, but be patient; the longer you can wait, the creamier your tzatziki will be. You could probably use the yogurt after 45 minutes or so, but wait about two hours if you can. Or strain the yogurt the day before you make the tzatziki and store it in the fridge overnight. When we use a quart of Dannon All Natural Plain Yogurt, we end up with a little over two cups of thick strained yogurt and a little more than a cup and half of whey. We’ll try straining our own yogurt later this summer, and anticipate the ratio of yogurt to whey will be a bit different.
(Don’t pour that whey down the sink! It’s full of good healthy stuff including lots of Lactobacilli, which are said to be good for gut health and general immune health. It will last for about forever in the fridge. You can add it to a smoothie, use it in place of water or other liquids in baked goods, use it as a starter culture for all kinds of lactofermented fruits and vegetables and beverages, use it in soaked grains like overnight oats … most recently we’ve been using it in a our daily almost-no-knead bread and in a pickle recipe.)
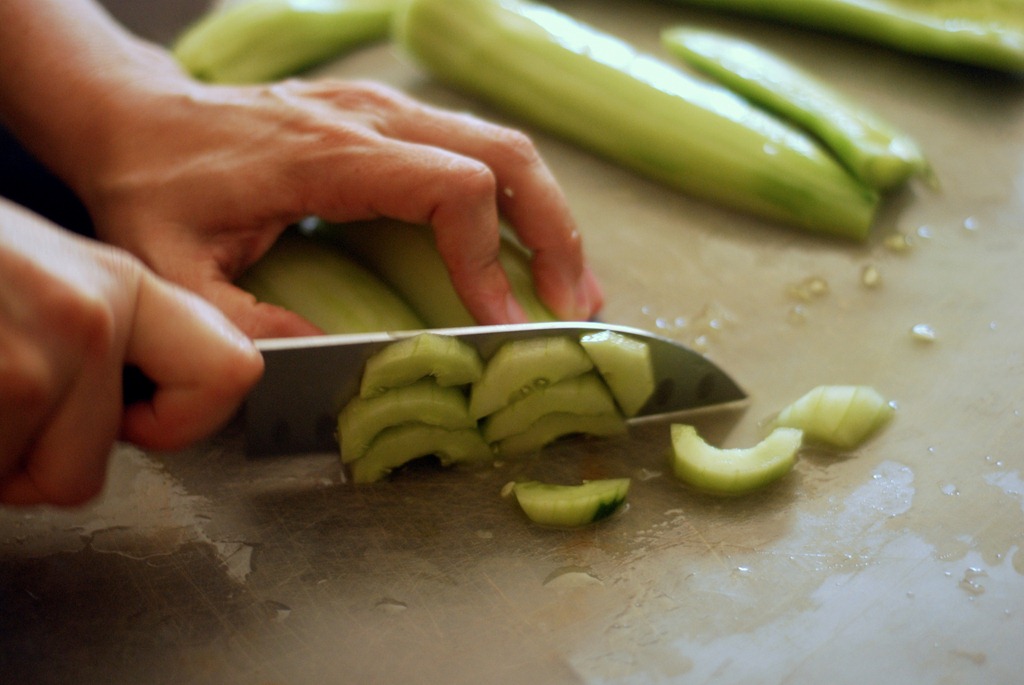
Next, prepare the cucumbers. This process takes about 45 minutes, largely unattended. We pick our cucumbers quite young and of course never wax them, so we rarely peel or seed them for any recipes. However, tzatziki really does benefit from cucumbers that have had a lot of the liquid removed. First, peel the cucumbers. Then seed them. You can cut them in half lengthwise and run a spoon along the seeds, scooping them out. Or quarter them lengthwise and use a small paring knife to cut out the seeds. Next chop up the cucumbers and place them in a colander, place the colander in a large bowl, and sprinkle the cucumbers with about a tablespoon of salt. Toss. The salt will draw water of out of the cucumbers. Let them drain for about half an hour. Press to release any remaining water, and then pat them dry with a paper towel.
Now you’re ready to mix it all up! Put the strained yogurt in a large bowl. In a food processor, blend the cucumbers, the lemon juice, the garlic, the herbs, and a few grinds of black pepper until well blended. Add the cucumber mixture to the yogurt and stir to mix. Taste to see if you need additional salt; we don’t find it necessary. Tzatziki tastes best if you put it in the fridge for a couple hours to allow the flavors to meld. But we won’t tell anyone if you dig in right away.
* * *
Serving ideas: Use tzatziki as a dip for vegetables like carrots or cucumbers. Spread it on crackers or nice bread. Use it as a spread in a sandwich with other summer vegetables. Add it to falafel in a pita. It’s also a great side dish or dipping sauce for meats and fish. (2014 update: So good on top of beef or lamb burgers. Great on bean or grain based patties too, like these little quinoa patties, or fritters like these. Delicious on salmon. Perfect on top of an eggplant roasted until charred and meltingly tender and split in two lengthwise.)


